Camera Settings for Night Photography | Expert Tips
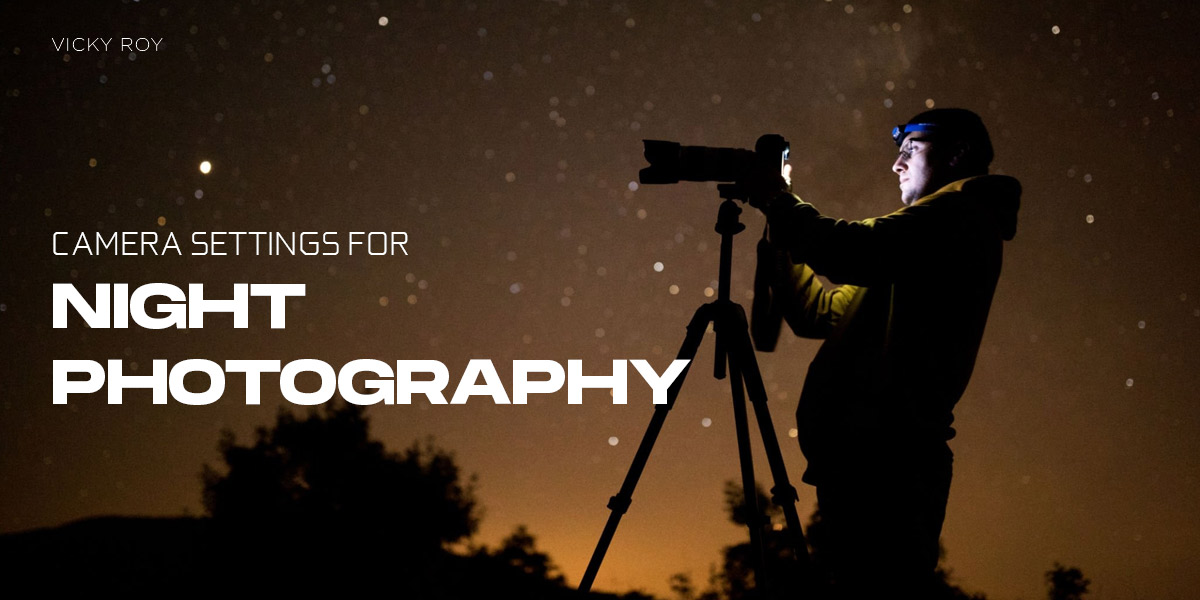
While taking good pictures might be a skill in itself. Mastering night photography requires a special skill set by itself. You need to understand the right camera settings to capture stunning scenes in low light. With the right technique, and a little practice, you can unlock the captivating beauty of the night sky, cityscapes, and so much more!
Capture the world through your lens with expert camera settings and unleash your inner photographer. With your camera in hand, look for the best angles and setups that make your pictures come to life.
Use natural light or try out different types of artificial light to shape the scene. Engage with your subjects and try to capture their essence and feelings in a single frame. Pay attention to details, colors, and textures that add depth to your imagery!
Essential Night Photography Equipment to Have
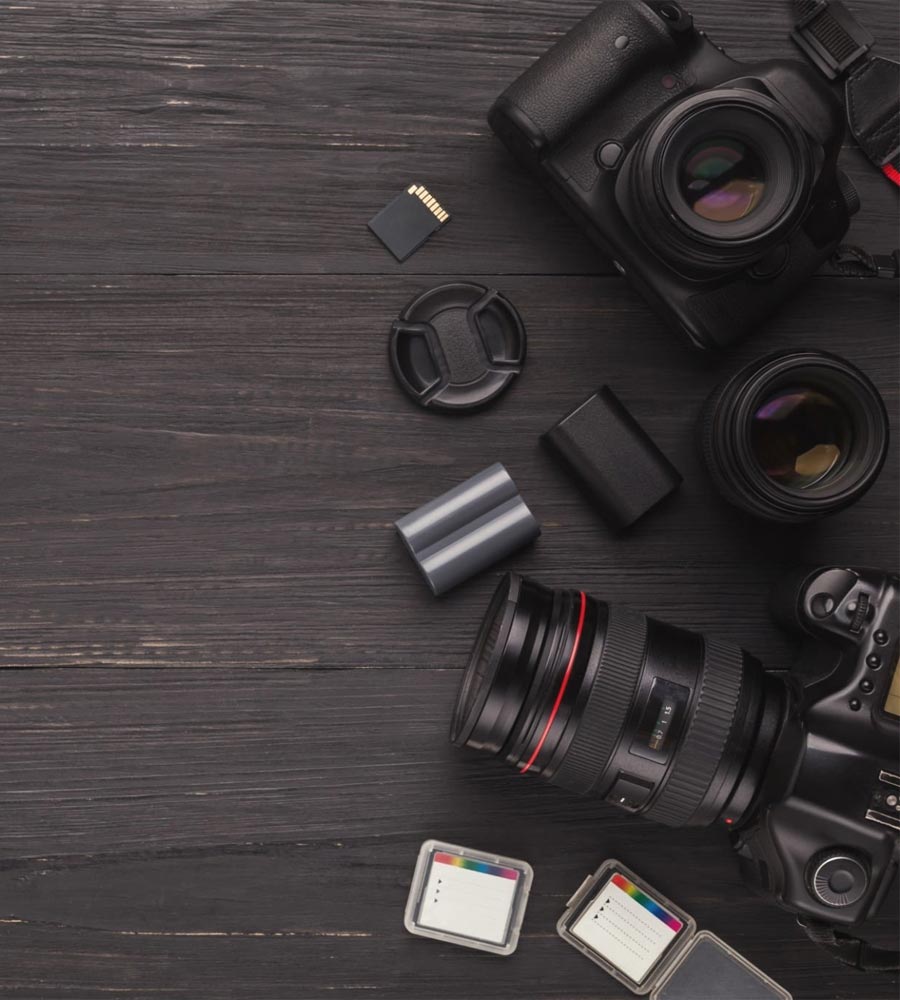
Night photography offers a fascinating opportunity to capture stunning images in the darkness, revealing a world that glows with enchanting lights. To make the most of this captivating genre, having the right equipment is crucial. Here are some essential tools every night photographer should have:
- Camera with Manual Mode: A camera with manual mode allows you to have full control over exposure settings like shutter speed, aperture, and ISO. This control is vital for capturing well-exposed night shots.
- Fast Lens: Invest in a fast lens with a wide aperture (low f-stop number) to gather as much light as possible in low-light conditions. This will enable you to shoot sharp, noise-free images in the dark.
- Sturdy Tripod: A reliable tripod is indispensable for night photography, as long exposure times are often necessary. It keeps the camera steady, preventing blur and ensuring sharpness in your photos.
- Remote Shutter Release: Using a remote shutter release or cable release eliminates camera shake during long exposures, guaranteeing crisp and clear images.
- Extra Batteries and Memory Cards: Night photography can quickly drain your camera’s battery, so carry extra batteries to avoid missing any shots. Additionally, ample memory cards are essential to accommodate the larger file sizes of night images.
- Flashlight or Headlamp: A flashlight or headlamp helps you navigate in the dark and make adjustments to your camera settings without disturbing the ambient light.
- Lens Hood: A lens hood is beneficial to prevent unwanted lens flares caused by artificial lights or bright sources in the frame.
- Lens Cleaning Kit: Night photography often involves shooting in challenging conditions, so keep a lens cleaning kit handy to maintain the clarity of your lenses.
- Light Painting Tools (Optional): For creative night photography, consider carrying light painting tools like LED lights or flashlights to add unique and artistic elements to your shots.
Manual Mode And Why It Matters
Shooting in Manual mode is really important for night photography because it puts you in charge of the essential camera settings. You get to control the aperture, shutter speed, and ISO, which are key to capturing great shots in low-light conditions.
The aperture is like the camera’s eye. By adjusting it, you decide how much light enters the camera. In night photography, a wider aperture (with a lower f-stop value) is often preferred. It lets in more light and creates a beautiful blurry background effect that makes your subject stand out.
Shutter speed is like a gate that opens and closes. It determines how long the camera’s sensor is exposed to light. In the dark, you need to give it more time to gather enough light. Manual mode allows you to choose longer exposure times, avoiding automatic adjustments that might result in dark or underexposed photos.
ISO is all about sensitivity. It determines how sensitive the camera’s sensor is to light. In the darkness, you can increase the ISO to make it more sensitive and capture more light. However, be careful not to set it too high because higher ISO values can introduce unwanted grain or noise to your photos. Manual mode gives you the freedom to find the right balance between capturing light and maintaining good image quality.
By shooting in Manual mode, you’re in control. You can experiment with these settings to create your own unique night photographs. You decide how bright or dark the picture will be, how much of the scene is in focus, and whether to capture motion or stillness. It’s all about unleashing your creativity and taking stunning night shots that reflect your artistic vision.
Pro Camera Settings for Night Photography Portrait Shoots
1. Shutter Speed Settings for Night Photography
When taking portraits at night, it’s important to consider the shutter speed settings. Shutter speed determines how long the camera’s sensor is exposed to light.
For night portraits, using a slower shutter speed can help capture more light, resulting in a brighter image. However, it’s crucial to keep the camera steady to avoid blurriness. You can use a tripod or stabilize your hands to ensure sharpness in your night portraits.
2. ISO Settings for Night Photography
ISO settings control the sensitivity of the camera’s sensor to light. In low-light situations, like night photography, increasing the ISO can help capture more light and prevent underexposure.
However, be cautious when using high ISO values, as they can introduce digital noise or grain to your images. Find a balance between ISO and image quality to ensure clear and sharp night portraits.
3. Aperture Settings
Aperture settings determine the size of the lens opening, which affects the amount of light reaching the camera’s sensor. For night portraits, you may want to use a wider aperture (a low f-stop value) to allow more light into the camera.
This helps to properly expose the subject and create a pleasing background blur. Keep in mind that wider apertures result in a shallower depth of field, so ensure your subject is in focus while the background provides a nice bokeh effect.
Streets Photoshoot Night Photography Camera Settings
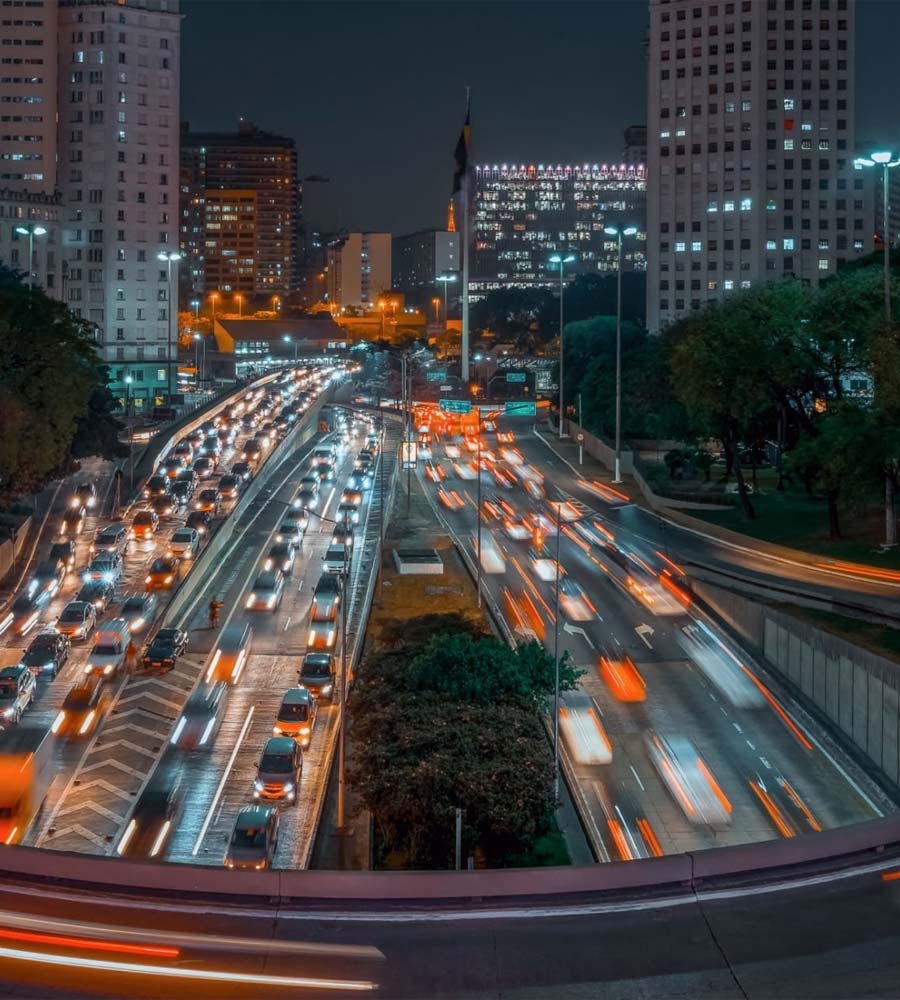
When you’re taking street photos at night, it’s important to adjust your camera settings to get the best results. Here are some key settings to consider:
1. ISO Settings
ISO controls how sensitive your camera is to light. In low-light situations, like nighttime street scenes, you’ll want to increase the ISO to gather more light and avoid dark or underexposed photos.
Just be careful not to set it too high, as higher ISO values can introduce digital noise and make your pictures look grainy. Find the right balance to capture clear and well-exposed street photos at night.
2. Aperture Settings
When it comes to street photography at night, adjusting the aperture is important. Using a wider aperture, indicated by a lower f-stop value like f/1.8 or f/2.8, is recommended. This allows more light to enter the camera, helping to capture the details of the scene even in low-light conditions.
Additionally, a wider aperture creates a pleasing effect where the subject is in sharp focus while the background appears beautifully blurred, drawing attention to your main subject.
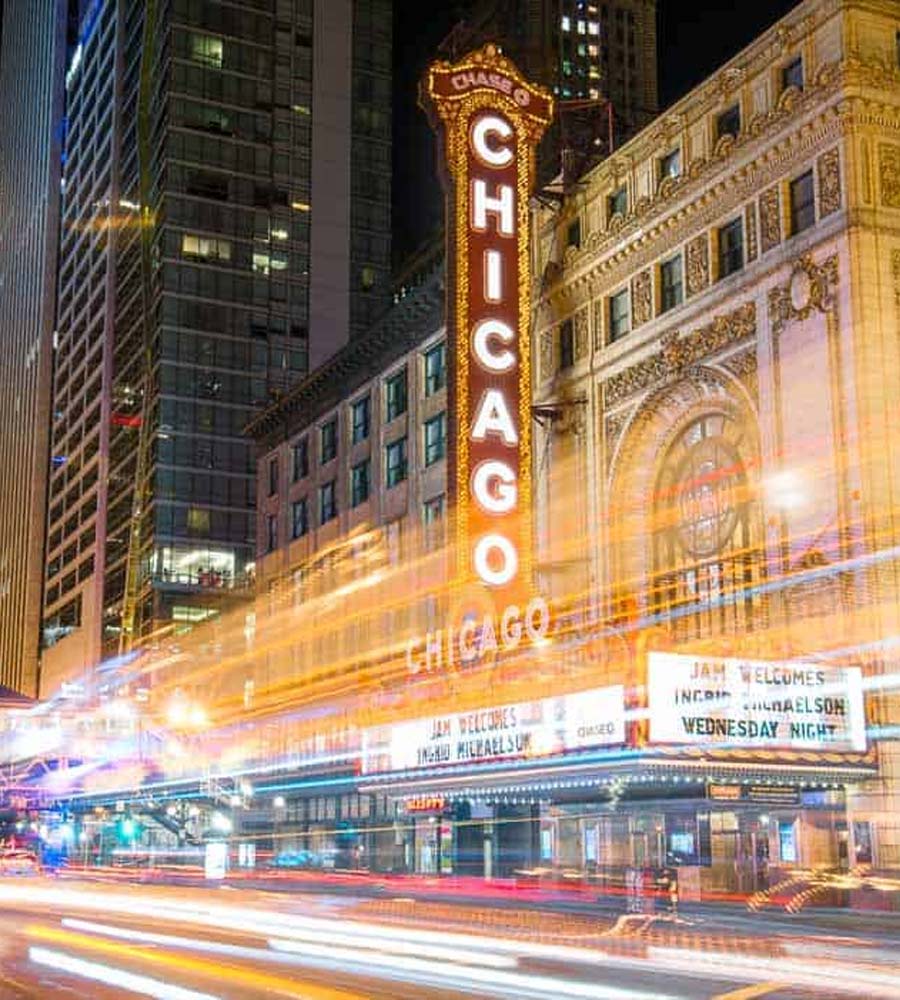
3. Shutter Speed Settings
Controlling the shutter speed is crucial for capturing great street photos at night. Using a faster shutter speed helps avoid blurry images caused by camera shake or subject movement. It ensures that the scene is captured sharply, freezing any action or movement. However, remember to consider the available light in the scene.
If it’s particularly dark, you may need to slow down the shutter speed to allow more light to reach the camera’s sensor. Just be mindful of camera stability, either by using a tripod or finding a stable surface to support your camera, to avoid introducing blur from a handshake.
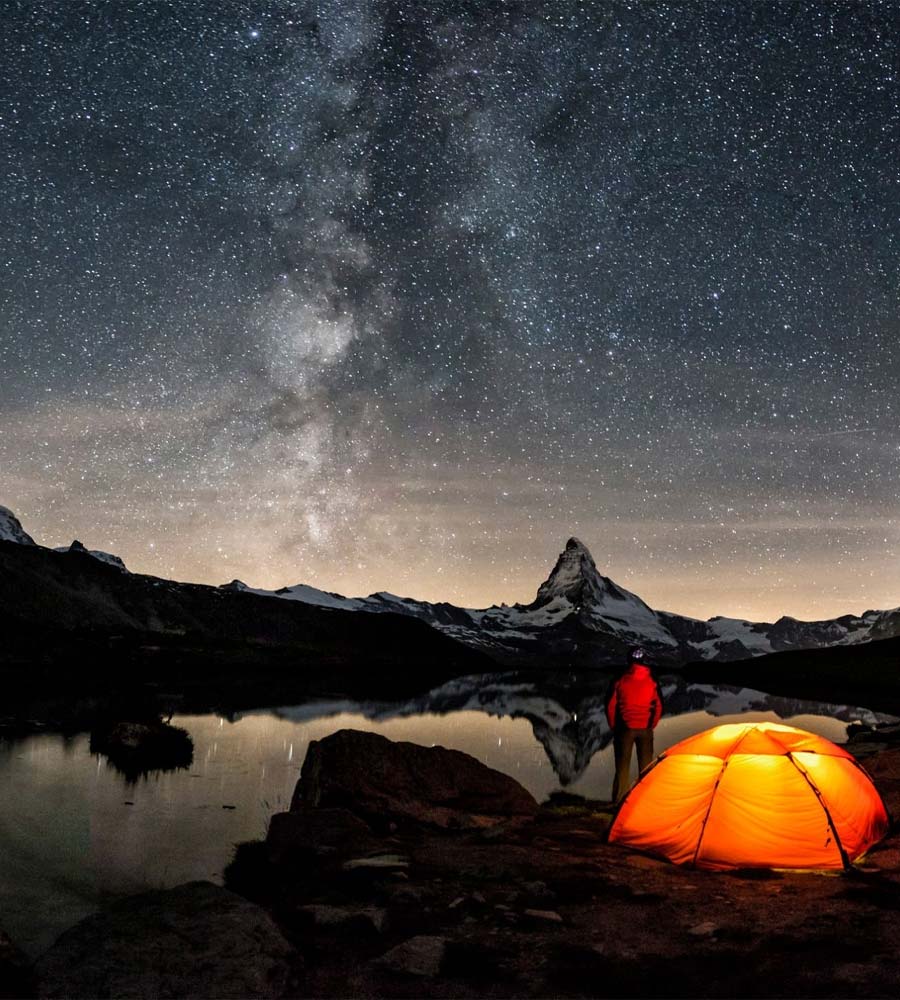
Night Sky Photography Pro Camera Settings
1. Aperture Settings for Night Sky Photography
When capturing the beauty of the night sky through photography, aperture settings play a crucial role. A wider aperture (a lower f-stop value) is generally recommended for night sky photography.
This allows more light to enter the camera, enabling you to capture the faint details of stars, galaxies, and other celestial objects. It also helps create a more pronounced depth of field, making the night sky appear even more captivating.
2. Shutter Speed Settings for Night Sky Photography
Determining the right shutter speed is essential in night sky photography. Since the night sky is often dark, longer shutter speeds are typically required to gather enough light for a well-exposed image.
Using a tripod or other stabilization methods is important to avoid camera shaking during long exposures. This allows you to capture the stunning trails of stars or create sharp images of the night sky without any blurriness.
3. ISO Settings for Night Sky Photography
ISO settings influence the camera’s sensitivity to light. In night sky photography, increasing the ISO is necessary to capture the dim light from celestial objects.
However, it’s crucial to strike a balance between a higher ISO for gathering more light and avoiding excessive noise or grain in the image. Experiment with different ISO values to find the optimum setting that allows for capturing the desired details while maintaining image quality.
Useful Tips for Night Photography

1. Set ISO Invariance
When it comes to night photography, setting ISO invariance can be a useful technique. ISO invariance refers to the ability of modern cameras to produce similar image quality regardless of the ISO setting used during the exposure or in post-processing.
This means you can intentionally underexpose your image and then brighten it later in post-production without sacrificing image quality. By setting a lower ISO initially and brightening the image afterward, you can reduce digital noise and achieve cleaner, more detailed night photographs.
2. Apply the 500 Rule during Night Photography
The 500 Rule is a handy guideline to calculate the maximum shutter speed you can use without getting noticeable star trails in your night sky photos. Divide 500 by the focal length of your lens to determine the longest exposure time in seconds that will still yield sharp stars.
For example, if you’re using a 24mm lens, the maximum shutter speed would be around 20 seconds (500 / 24 = 20.8). This rule helps you avoid blurring the stars and capture crisp, pinpoint details in your night sky shots.
Conclusion
To capture breathtaking night photos, it’s crucial to understand and use the right camera settings. Adjusting the aperture, shutter speed, and ISO appropriately is key for well-exposed and sharp images in low-light conditions.
By mastering these settings and experimenting with different combinations, you can unleash your creativity and capture the mesmerizing beauty of the night.
With practice and a keen eye, you’ll have the ability to create captivating night photographs that truly make an impact and leave a lasting impression. So go out, explore, and let your photography skills shine under the stars!